Have you ever thought about having a pool at home, spending about R $ 500? This is perfectly possible if you choose a pallet pool. Yes, the same pallet used to make furniture and a hundred handicrafts can also be used to make swimming pools. They are inexpensive, versatile and sustainable. Now there’s no excuse for not having a pool at home. And, best of all, you can build the pool yourself in the good old “Do it yourself” style. With a simple step by step (which we will have to teach here) your pool will be beautiful and ready for the summer. In this post you can see more about it and learn how to make a beautiful Tides of Change.
There are several models of pallet pools that can be made. The most common are the elevated ones, built above the ground. This model allows the creation of a high deck to accompany the pool, making the look even more beautiful and even decorating the environment. Pallet pools can be round, square, oval or hole-style and in the size you desire.
Generally, the inside of them is made entirely of canvas. But there are also models with pools made of plastic, fiber or masonry lined with pallets. It will all depend on how much you are willing to spend on your pool design.
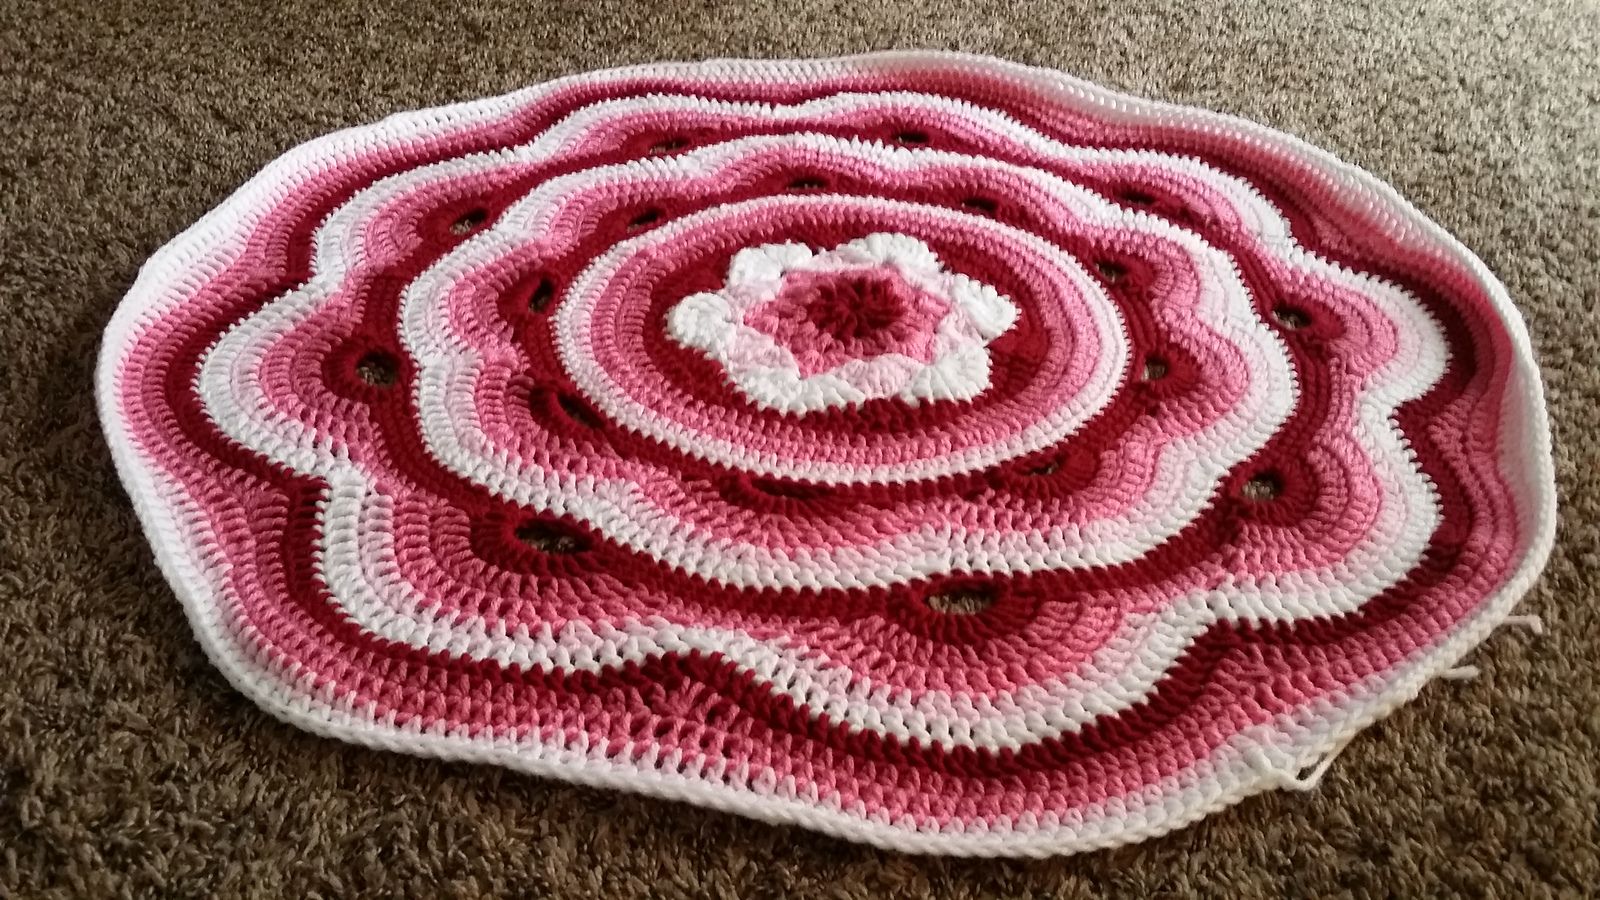
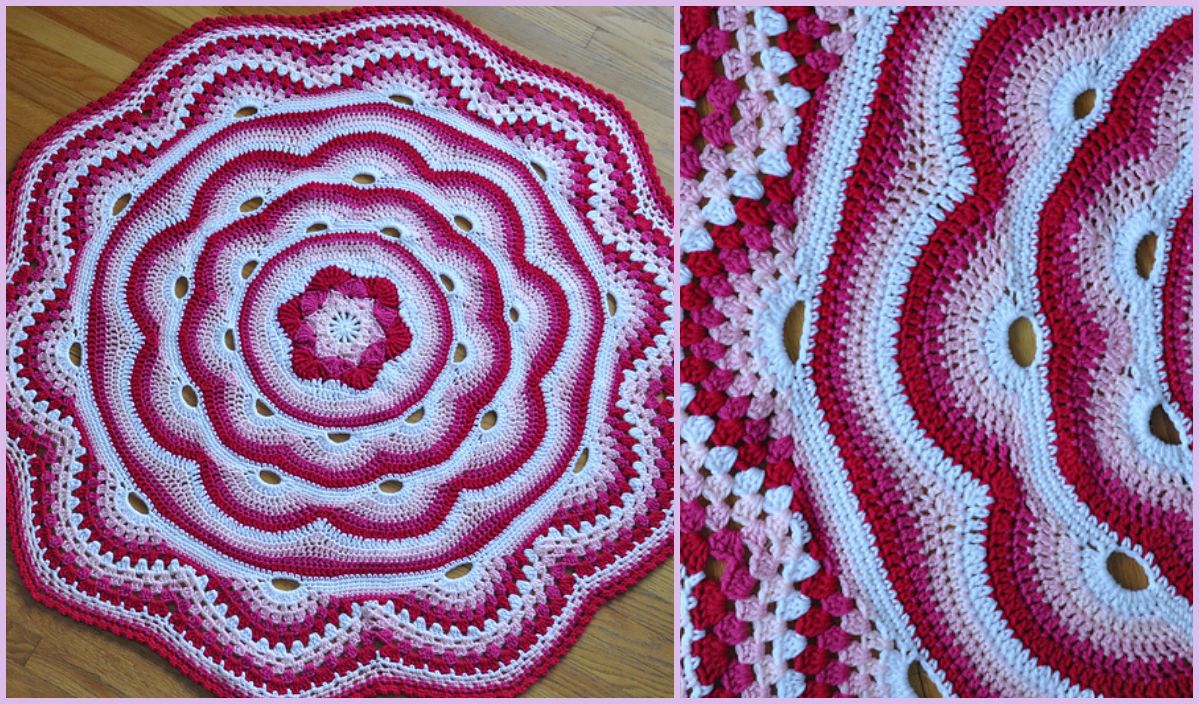 Free Pattern Available: Tides of Change
Regardless of the size or the way your pool is built, the pallet will always enhance the environment where it is inserted, giving the house a rustic and cozy atmosphere. Check now how to make a pallet pool. And if you want, see other ideas with pallets such as sofas, panels, beds and racks on the internet. Write down the materials needed to start making your pool:
10 pallets;
Varnish or stain;
Towels, sheets and cloths;
Nails, screws, hammer and drill;
Strap with ratchet to hold the structure;
Two large polyethylene tarpaulins (about 5mx4m);
Strong adhesive tape;
Water to fill the pool;
Now check out the step-by-step
Before starting, check that the ground where the pool will be mounted does not have any sharp objects or elevations. It is advisable to “pad” the soil to ensure that no stones or other objects harm the pallet pool. Once this is done, prepare the pallets by sanding them and passing two to three coats of varnish or stain. This step is important to ensure the durability and strength of the material used. The next step is the assembly of the pool. Start by covering the floor with one of the polyethylene tarpaulins. Then, assemble some pallets and secure them with nails and screws so that they are securely attached to each other.
After attaching all the pallets to each other, reinforce the structure using ratchet straps for loading; Line the entire interior of the pool with cloths and sheets that are not used or are already well beaten. Whatever you have at home will do, the important thing is to ensure that the pool liner does not come into contact with any rough surface to avoid tearing or damaging it. Take the other polyethylene tarp and throw it over the top, securing it to the pallets with strong adhesive tape. Finish the top part with wooden boards or whatever you prefer. Finally, fill the pool with water. Now just enjoy your pallet pool!
Are you enjoying it? Also check out these Free Patterns:
➥ Movement in Squares Quilt
➥ Circle of Friends Block
➥ Vintage Style Crochet Blanket Pattern