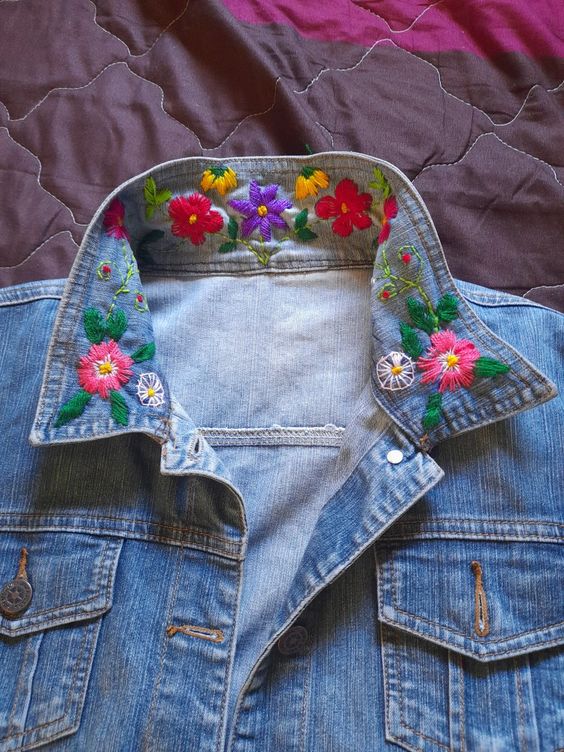
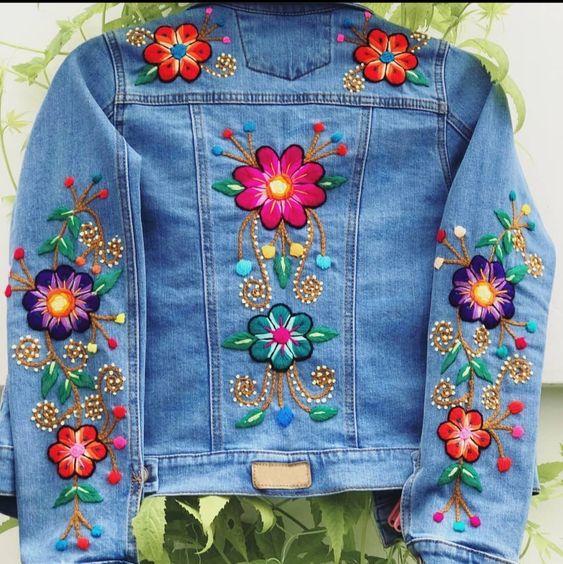
Embroidering flowers onto a denim jacket is an easy and fun way to add a personalized touch to your wardrobe. Also, this embroidery technique is a creative way to repurpose an old jacket or renew a piece that is no longer in use. In this article, we’ll show you a simple step-by-step how to embroider flowers on a denim jacket.
Necessary materials:
denim jacket
embroidery needle
embroidery thread
Scissors
Pencil
vegetal paper
Iron
safety pins
flower mold (optional)
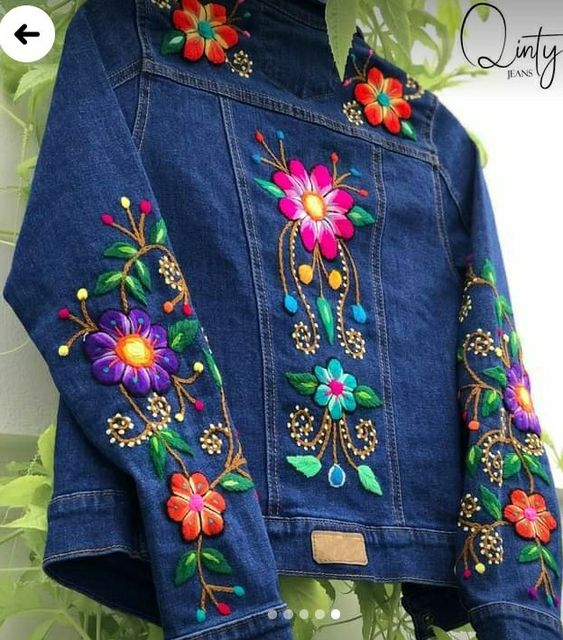
Step 1: Choose where you want to embroider the flowers on the jacket. It can be on the front, back or sleeves. One tip is to use pins to mark the exact place where the flowers will be embroidered.
Step 2: Select the flower template you want to embroider. You can find many flower templates on the internet, but you can also draw your own flower on tracing paper.
Step 3: Position the flower template over the jacket, pinning it in the desired location. If you designed your own flower, place the tracing paper over the jacket and trace the outline with a pencil.
Step 4: Remove the template or tracing paper and start embroidering the flower. Use the embroidery needle and embroidery thread to make the necessary stitches. You can use different embroidery techniques such as satin stitch, stem stitch or French knot stitch. Try different types of stitches to get the desired effect.
Step 5: Continue embroidering the flowers until finished. If desired, add leaves or other flowers to create a more intricate design.
Step 6: When finished embroidering, use the iron.