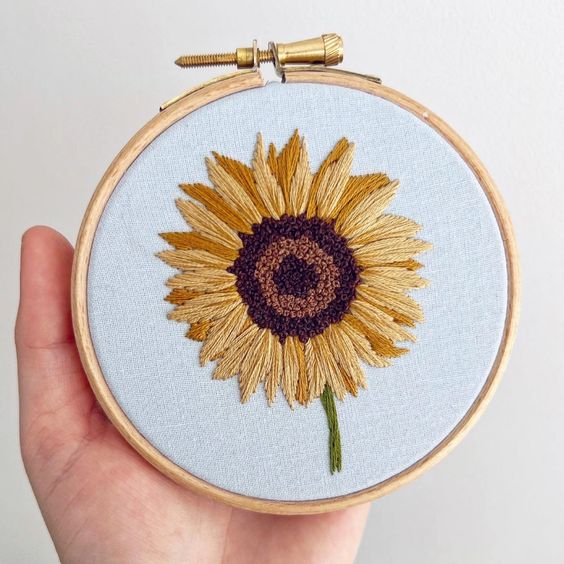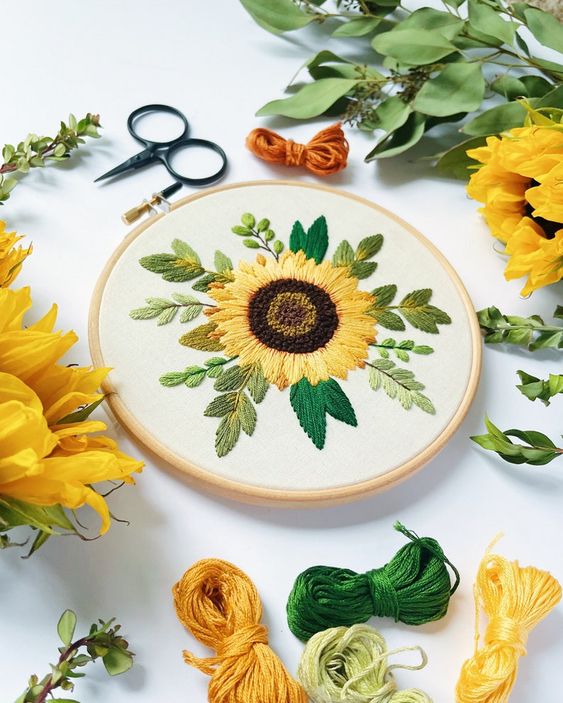
Embroidery is an art that can be practiced by people of all ages and abilities. One of the most popular flowers to embroider is the sunflower, known for its beauty and vibrant colors. In this article, we will explain step by step how to make a sunflower embroidery.
Necessary materials:
cotton clothing;
Yellow, brown, green and black embroidery thread;
embroidery needle;
Scissors.
Step 1: Choose a sunflower design to embroider.
You can find many sunflower designs online or in embroidery books. Choose a design you like and print it out or draw it on a piece of paper.
Step 2: Transfer the design to the fabric.
Place the paper with the design on the fabric and secure with pins. Use a pencil or pen to trace the design onto the fabric. Be sure to draw the lines clearly so that you can embroider them easily.
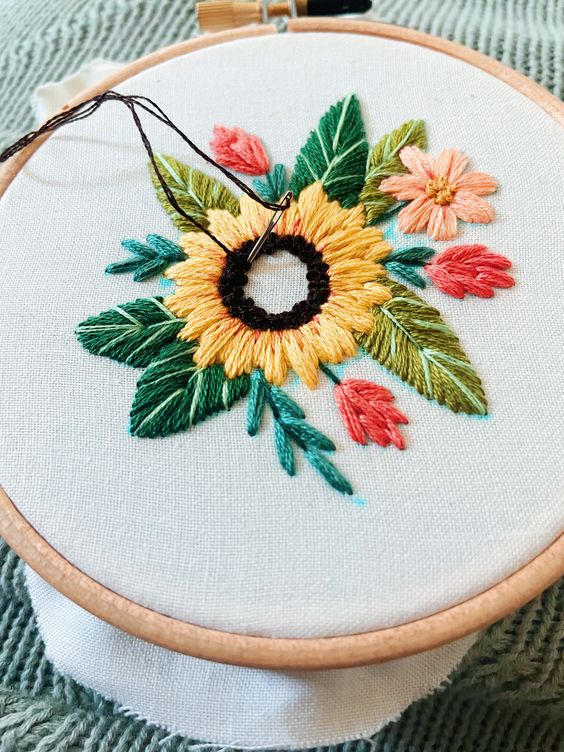
Step 3: Start embroidering the sunflower.
Start embroidering the sunflower with the yellow thread. Use the satin stitch technique to fill in the sunflower petals with yellow yarn. Be sure to follow the lines you drew on the fabric. If you are not comfortable using the satin stitch technique, you can also use the topstitch technique.
Step 4: Add details to the sunflower.
Use brown thread to embroider the center of the sunflower. Use the satin or topstitch technique to fill in the center with the brown thread. Then, use black thread to embroider the center details of the sunflower. Use the stitching technique to create the black lines starting from the center of the sunflower.
Step 5: Add the leaves to the sunflower.
Use green thread to embroider the sunflower leaves. Use the satin stitch or topstitch technique to fill in the leaves with the green yarn. Be sure to follow the lines you drew on the fabric.
Step 6: Finish the embroidery.
When finished, use the iron.